Points
Points in the Home screen opens the list of points of the open project, from newest to oldest: measured, imported and entered manually.
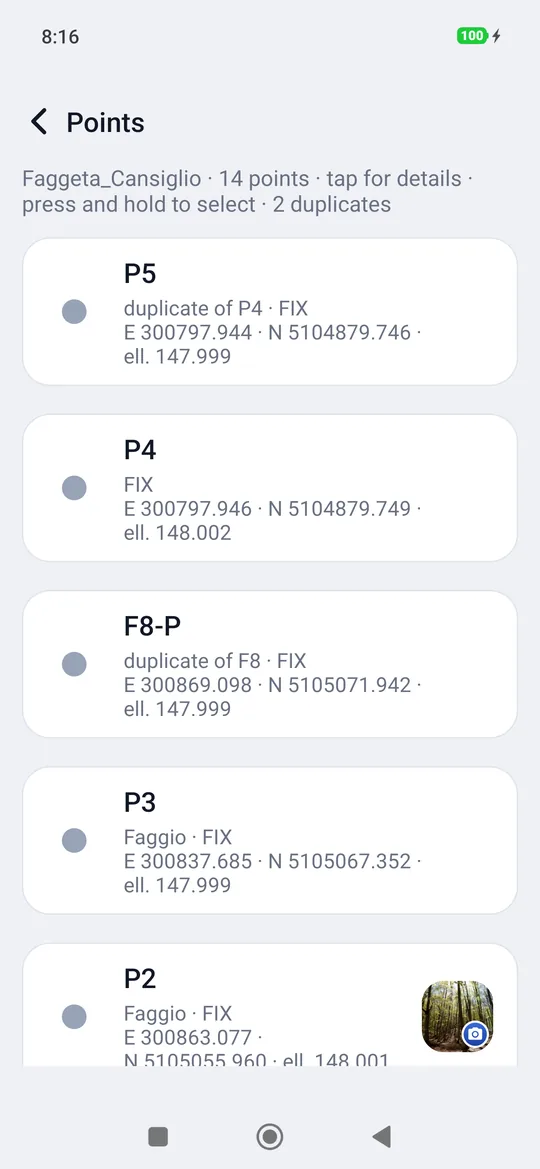
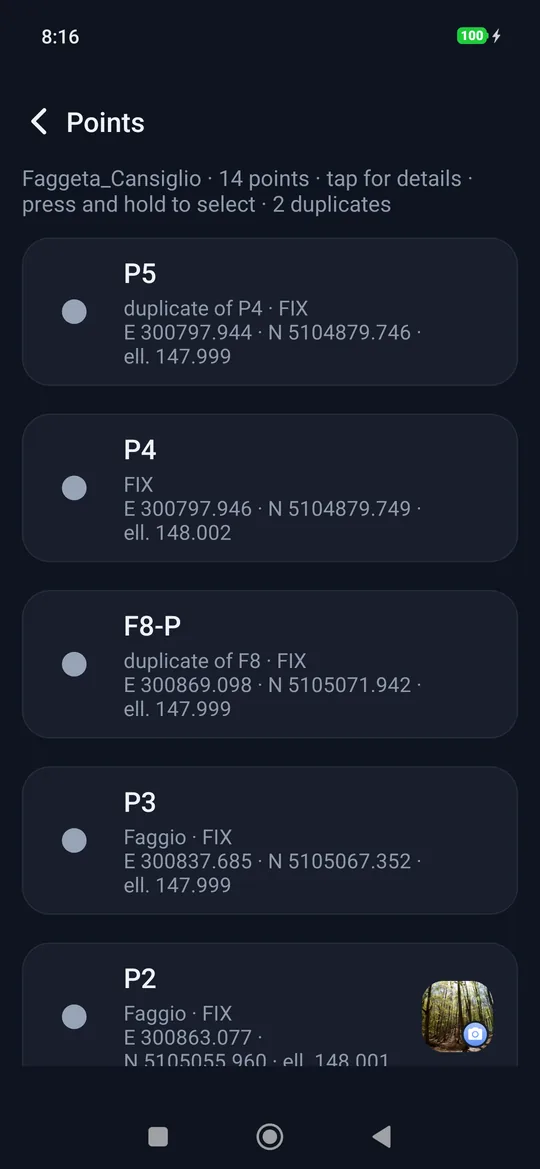
Each row says:
- the name of the point;
- the code, if there is one (for example Beech);
- the origin: the solution of the measurement (FIX, FLOAT…), or Imported or Entered manually;
- the grid coordinates E and N in the project's reference system;
- the elevation, with the abbreviation that says which: ell. (ellipsoidal) or a.s.l.;
- at the end of the row, the first photo as a thumbnail, if the point has any, with the camera in the corner and next to it the number, if there is more than one photo.
The mark on the left is the same as on the map, with the same colour: the grey dot for measured points, the orange dot for imported ones (to be staked out), the purple diamond for those entered manually.
- A tap opens the point card.
- A long press starts the selection: each tap adds or removes a point, All takes them all, Delete deletes them together after confirming (Delete 3 points?) and Cancel (or the back button) closes the selection.
Duplicate points: a point with the same name as another, or closer to another than the duplicate Distance (Settings → Point numbering, 2 cm by default), shows duplicate of P5 in its row, and the top of the list says how many there are (· 2 duplicates).
Line or polygon from points already surveyed (Pro): touch and hold a point, tap the others in the order you want to join them, then Line (from two points) or Polygon (from three). A point belongs to one line only: if it was in another, it leaves it. Two polygons sharing a side need two sets of points.
The point card
The card is the same from the list and from the survey map.
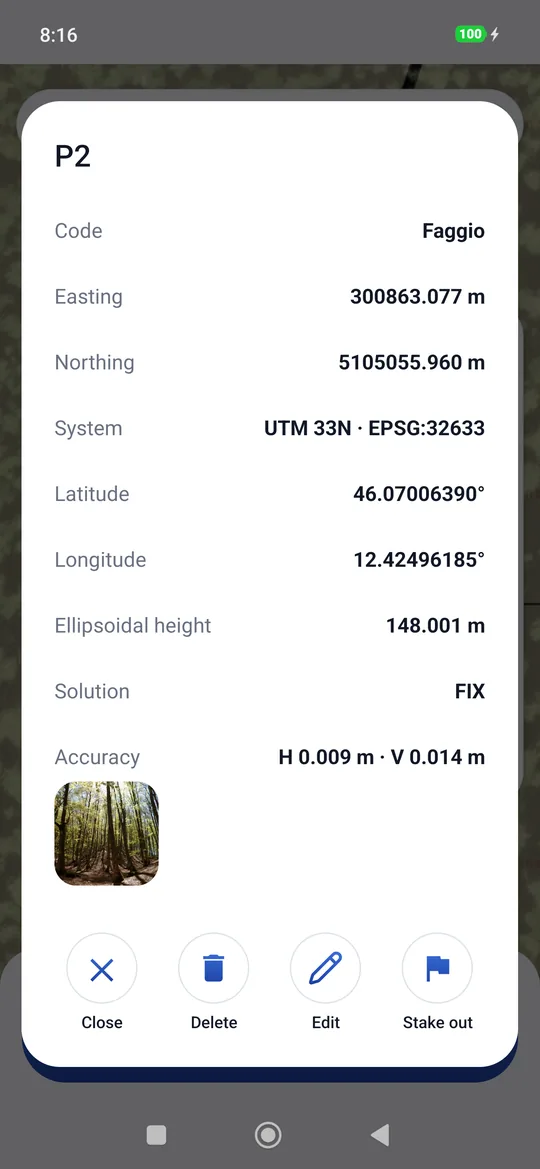
It contains:
- Code, if there is one;
- Easting, Northing and System (for example UTM 33N · EPSG:32633);
- Lat and Lon in decimal degrees (8 decimals, the millimetre);
- the Elevation, ellipsoidal or a.s.l. according to the project (Elevation not given if the point does not have one, for example a point entered manually without elevation);
- for a measured point: Solution, estimated accuracy H and V, Pole and the date and time of the measurement (Measured on …); for the others Imported from file or Entered manually;
- the values of the attributes: Species: Larch, Diameter: 32.5, Damage: Lightning, Windthrow, Notes: recorded;
- the photos, as thumbnails side by side (if there are many, swipe through them): a tap opens the full photo.
And four commands:
| Command | What it does |
|---|---|
| Edit | Opens the card to fill in: name, code and attributes. |
| On the map | Opens the survey with the map centred on this point. |
| Stake out | Opens the stakeout on this point. It is there only with the receiver connected. |
| Delete | Deletes the point, after a confirmation. There is no going back. |
| Close | Closes the card. |
Changing name and code
Edit opens the point card, where Name and Code are corrected like the attributes. If the new name already exists in the project, geosit asks whether to rename anyway (Rename). An empty name is not allowed.
The coordinates of a measured point cannot be changed: if a point is wrong, you delete it and measure it again.